In some cases you may have damaged your welding tips and need to replace them or you want to build yourself a set of custom welding cables. This tutorial will show you how to easily connect the welding tips to a cable.
The silicone welding cable of the welding cable sets from this shop is 7awg (10,6mm²). It will not fit in a 10mm² cable connector, so you will need a 16mm² cable conenctor. If you are using thinner cable you can also use the smaller 10mm² cable connector.
Material you need
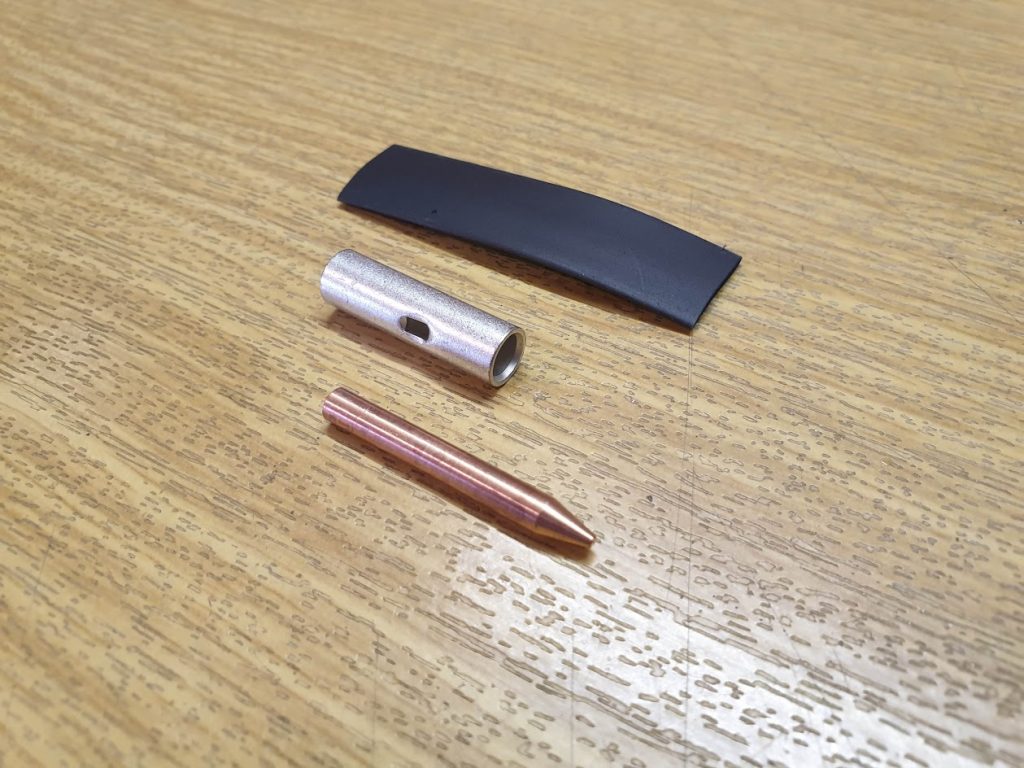
- replacement welding tip
- copper cable connector (16mm²)
- shrink tube / electrical tape
Replacing the Welding Tip
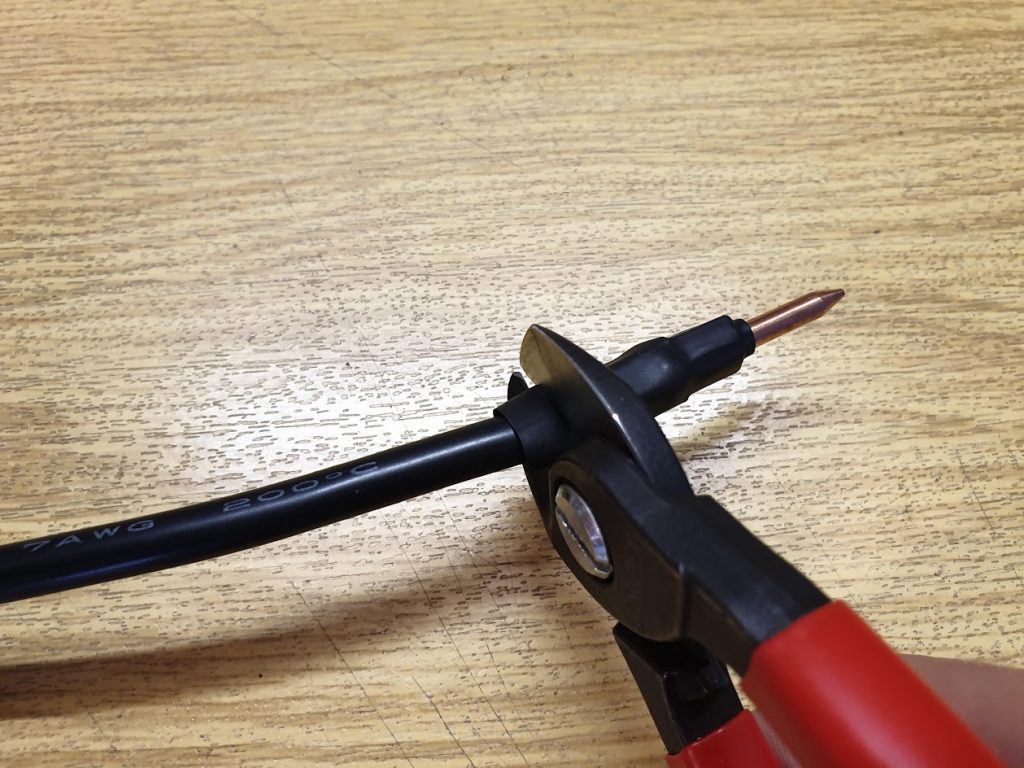
- start with cutting the cable right behind the old welding tip
- this is easiest done with big cable cutting pliers but can also be done with smaller wire cutter
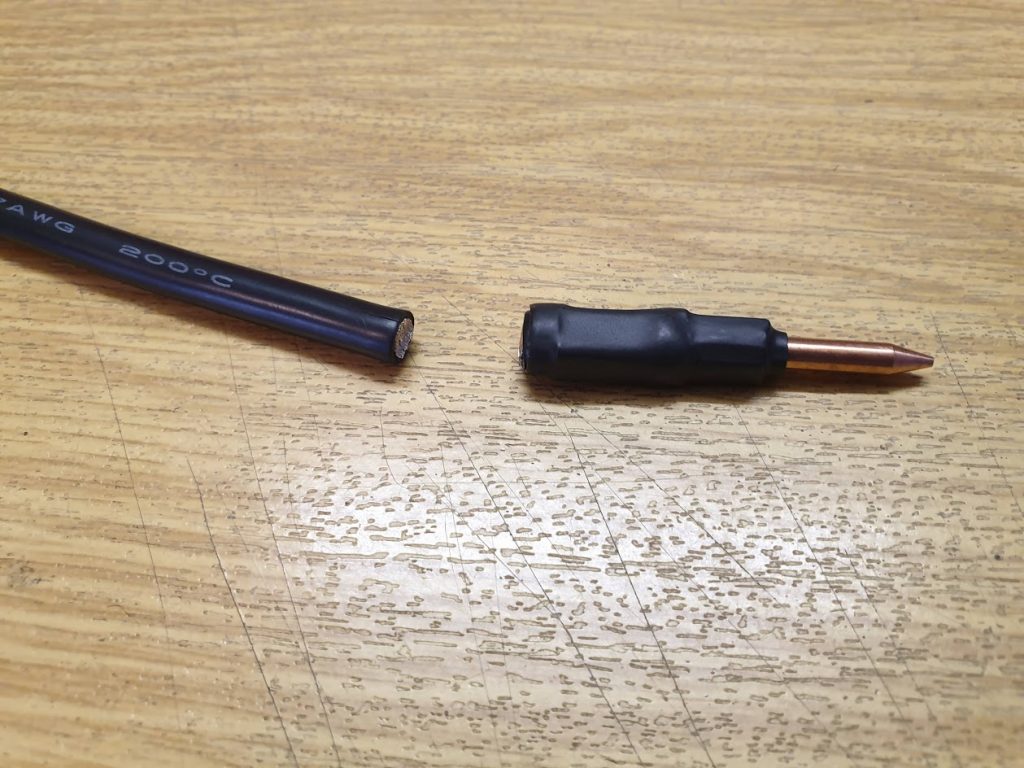
- you will only loose about 1cm cable length
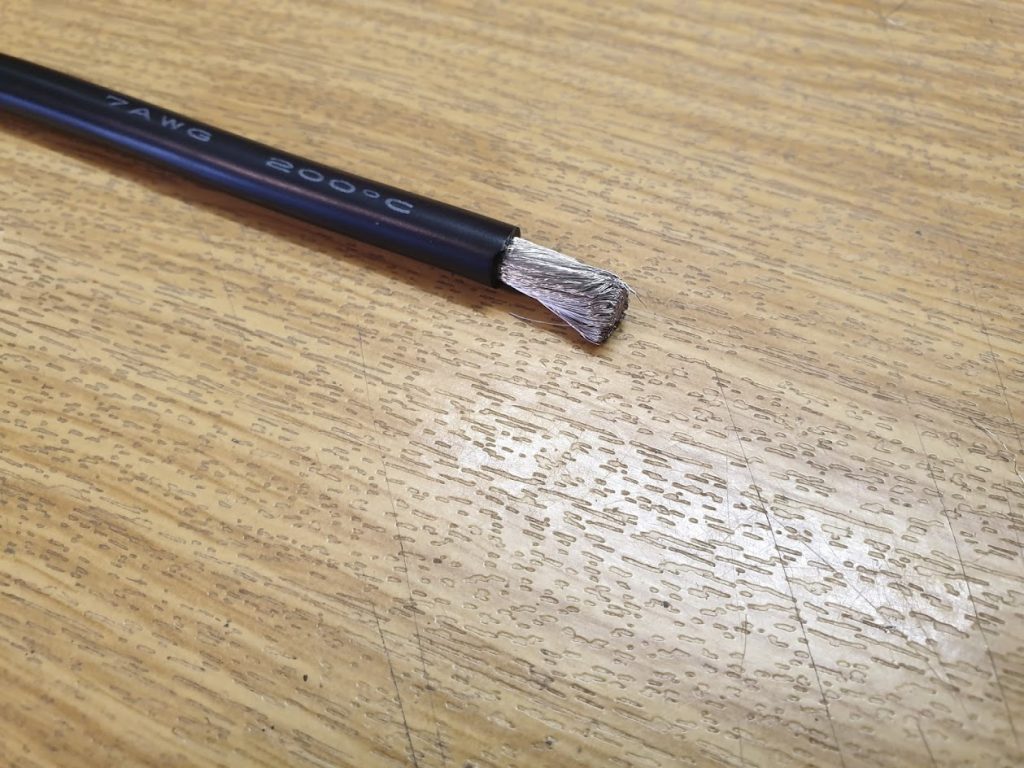
- remove about 1cm of the cable insulation
- to do this cut arround the cable with a sharp knife and then pull the insulation of the cable.
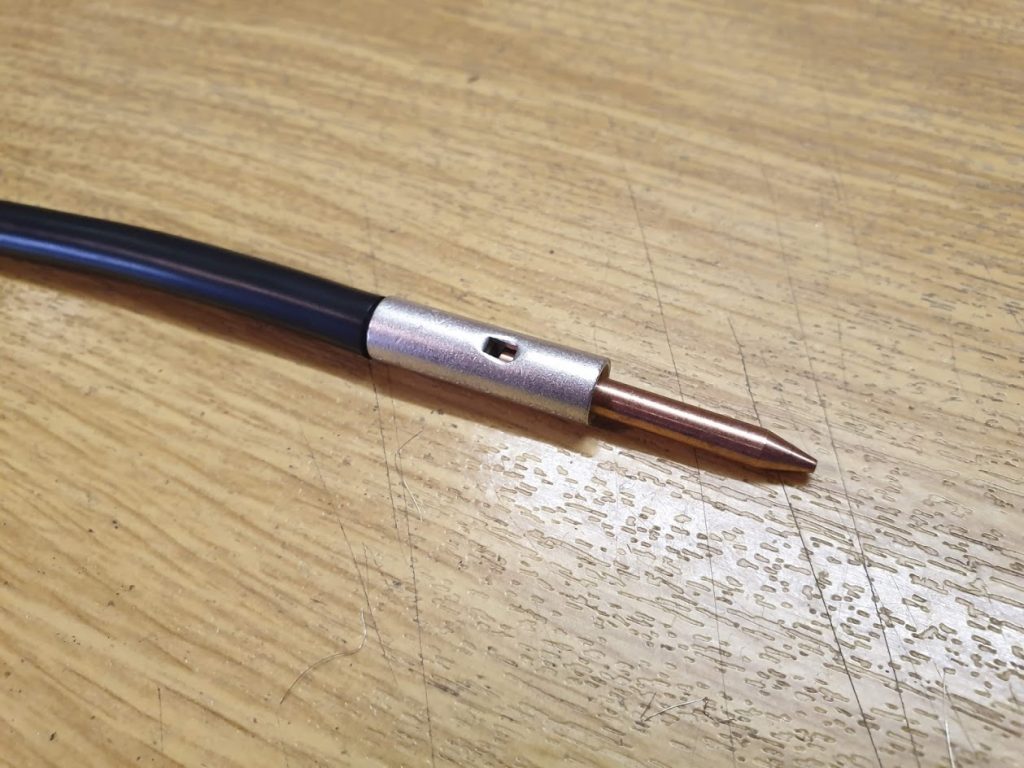
- slide the cable connector on the cable and slide the new welding tip in
- now there are two options to connect everything together
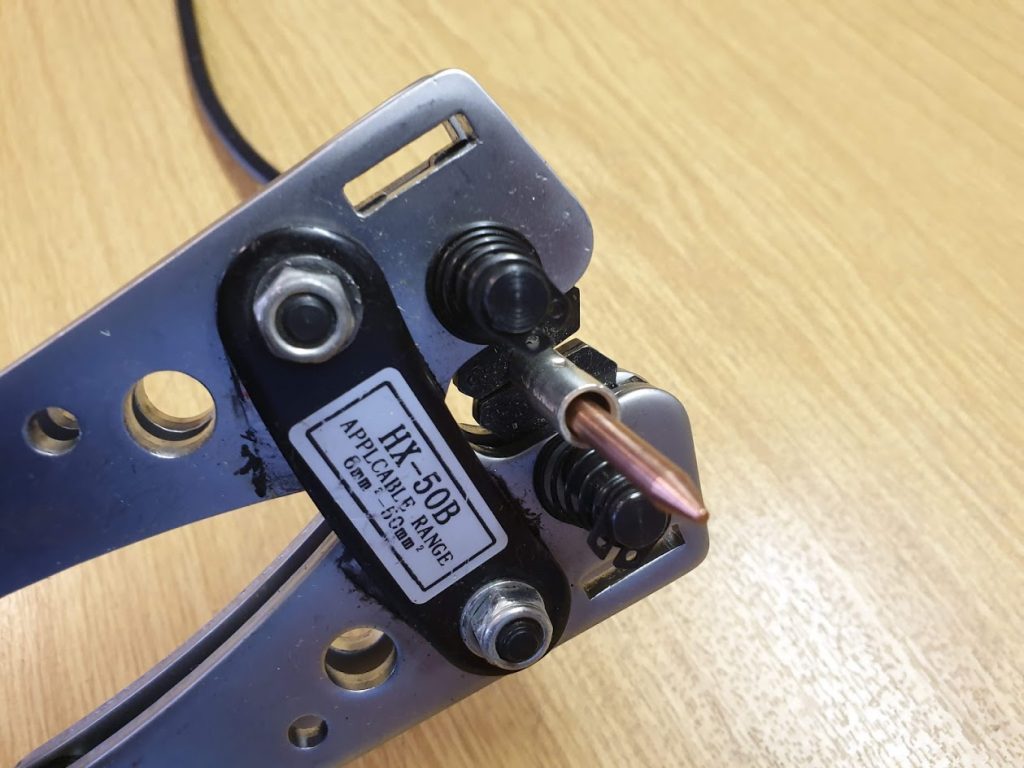
- option one is to use a crimping tool
- even though it is a 16mm² cable connector it is best to use the 10mm² setting on the crimping tool to get a good conenction to the welding tip and the cable
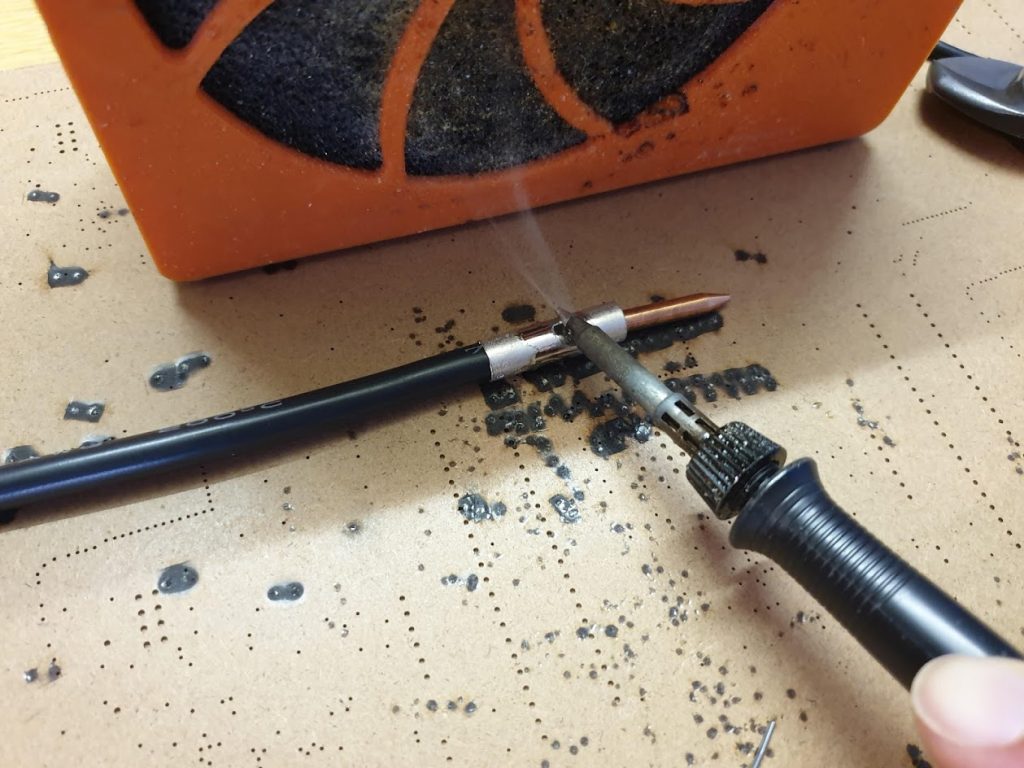
- option two is to solder everything together
- for this you need a powerfull soldering iron
- recommended is at least 80W to get enough heat to solder the cable and welding tip properly to the cable conenctor.
- instead of a soldering iron you can also use a hot air gun from a smd rework station.
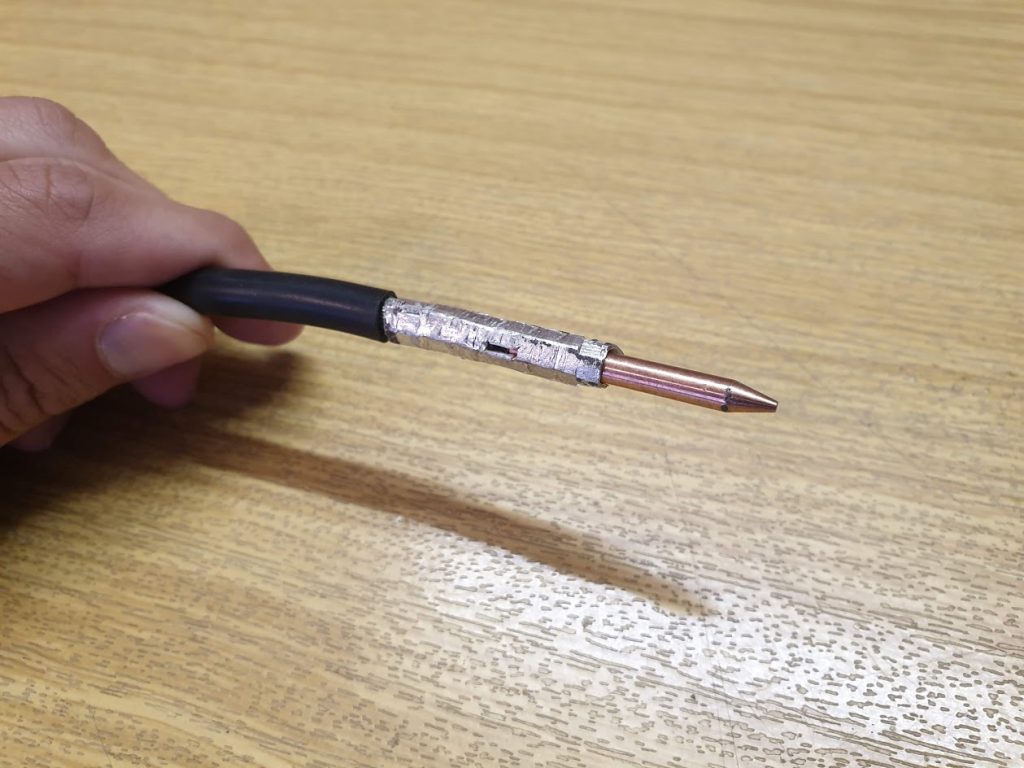
- make sure you added plenty of solder so everythig has a good connection
- as a last step add some shrink tube over the connection to insulate it and make it look more pretty
- it is not absolute necessary to insulate the connection because the welder only works with 12V, which is no problem to touch with your hand.
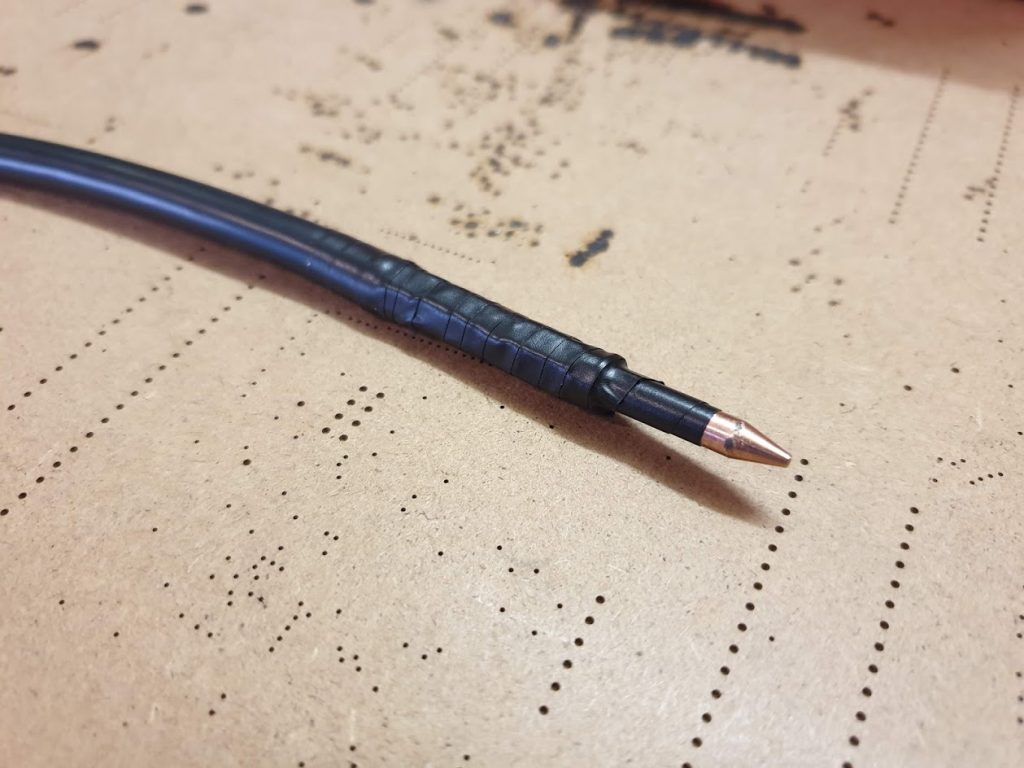
- alternatively you can also insulate the connection with some electrical tape