Instructions on how to assemble the 3d printed case for the Spot Welder V3
Parts:
- 3d printed case
- 3d printed rotary encoder knob
- 40x40x10mm 12V fan
- 4pcs M3x30 screws
- 6pcs M3 nuts
The STL files for the case are available at thingiverse.

Before you start to assemble the case you should prepare the Spot Welder. Screw together the two Spot Welder PCBs with the 4pcs M3x25 screws and 12 M3 nylon nuts that come with the prebuilt kit.

Quick Tip: If the Spot Welder later sits to loose in its case you can adjust the distance between the 2 pcbs with the 2 nylon nuts on the bottom pcb. Just dont put the two pcbs to far apart so the 8-pin and the two 2-pin headers still have good contact. 1 or 2 millimeter gap is ok.

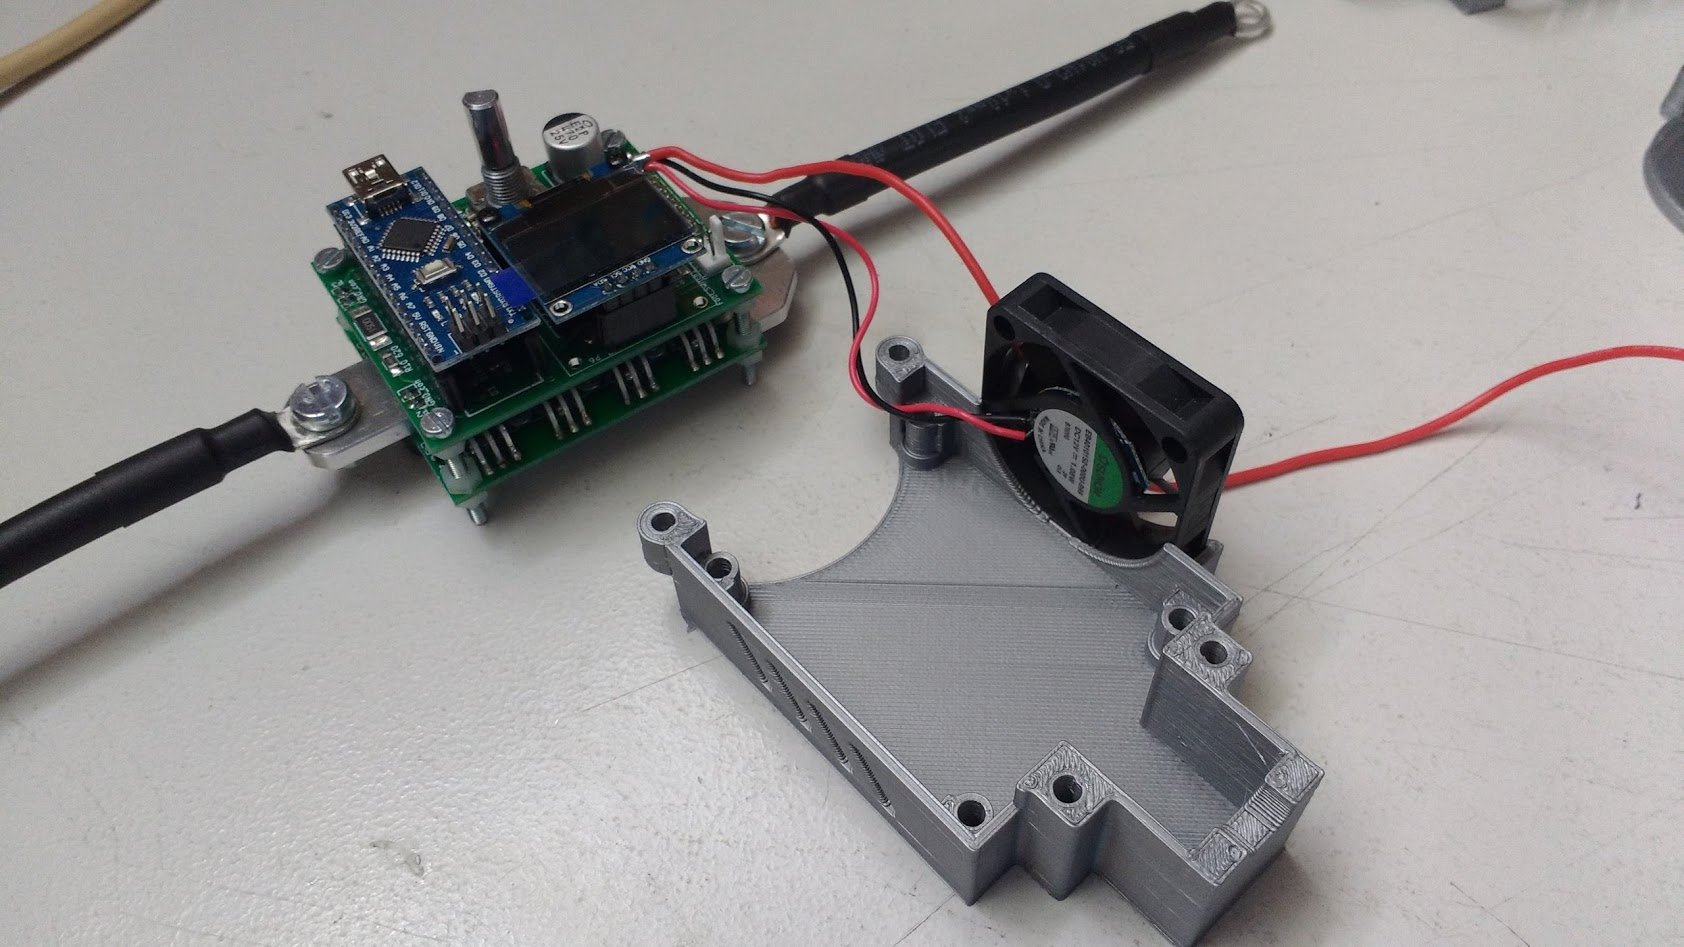
Cut the wire from the 40mm fan to about 10cm length and solder it to the Spot Welders 12V and GND pad. (There is a screw terminal instead of the solder pads on the later Spot Welder versions, so attaching the cable can be done without soldering) Also solder/screw an about 20…30cm long positive wire to the 12V pad. This will later be connected to the positive side of your car battery to supply the Spot Welder with +12V.

Screw the negative welding cable to the straight aluminum part. If you are going to use the Spot Welder with a Lipo battery or dont want to connect it directly to the car battery screw a extension cable or the XT90 cable to the u-shaped aluminum part.

The 3d printed case parts come with some support material from the printing process. You need to remove this. Take a box knife and try to get the blade between the support material and the normal printed part. The support matreial should pop of then pretty easy.


Repeat this on the other corners. Then remove the support material from the USB port section with some pliers.

Remove the support material from the m3 nut pockets by inserting a m3 screw from the other side and pushing on the screw with your thumb. The support material should pop out of the pocket then.


The nuts have a tight fit in the pockets. To get them in put a screw through the hole and screw on a nut. Then tighten the screw so the nut gets pulled into its pocket. Make sure the nut is aligned correctly with the pocket when pulling it in.


Do this until all 6 M3 nuts are inserted.

Assembly Option: case with extension cable / XT90 cable
Place the fan in the side of the case like shown in the picture. The side with the sticker should face to the inside of the case, so the fan blows the air into the case.
Place the Spot Welder in the case and lay together the two bottom parts of the case.

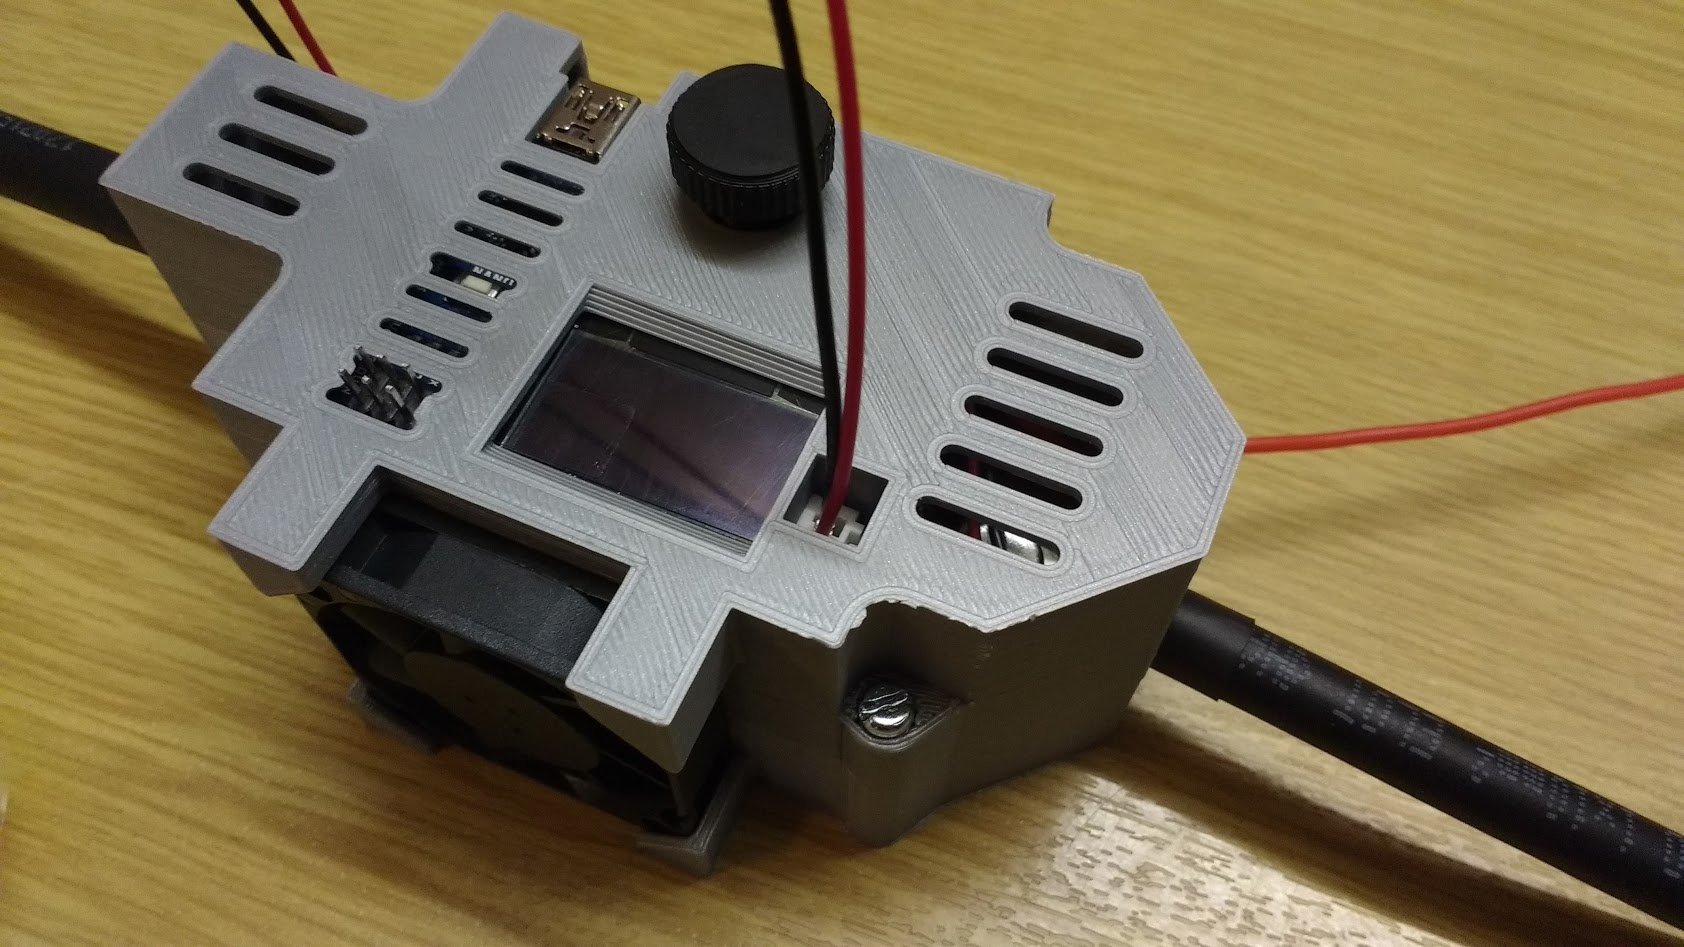
Put on the top part of the case and make sure the positive cable gets routed through the little cutout on the side. You can choose if you want it to be on the left or right side. Then push together the case parts with one hand and screw in one m3x30 screw with the other hand. Repeat on the other corners.

Put the 3d printed rotary encoder knob on the rotary encoder. Dont push to hard so you do not damage the rotary encoder or the spot welder pcb.
Tip: Should the knob fit to tight on the rotary encoder heat the knob up with your hair dryer a bit. Then try to push the warm knob onto the rotary encoder. It should slip on much easier now.

The foot switch connector can be plugged in from the top when the case is assembled.
Now you can connect the Spot Welder to your lipo battery. I recommend to also use the fuse case when connecting to a lipo. The Lipo i recommend is Turnigy Nanotech 5000mAh 3s (11,1V) 65-130C .

If you are using the extension cables and a DIY Lipo adaper instead of the XT90 cable isolate all connections to make sure there is no way to produce a short circuit on the lipo.

Assembly Option: direct mount to the car battery terminal
Screw the U-shaped aluminum part of the Spot Welder directly to your car battery terminal like you would do without the case.

Insert the fan in the bottom part of the case and put it on the Spot Welder. Hold it so it does not fall off.

Put on the top part of the case. Now the fan should hold everything together. Insert the 4pcs m3x30screws.

Finally tighten the screws and put the 3d printed rotary encoder knob on the rotary encoder. Dont push to hard so you do not damage the rotary encoder or the spot welder pcb.
Tip: Should the knob fit to tight on the rotary encoder heat the knob up with your hair dryer a bit. Then try to push the warm knob onto the rotary encoder. It should slip on much easier now.
